After Sam and Pokey discovered the feeder inside the chicken coop, and how much fun it was to jump on top of the nesting boxes and brooder, they would not stay out of the coop. There is a small opening in the fence between the coop and the sheep/goat area. This allows the birds to get out and forage over an acre, but still be somewhat protected from predators. The opening is small enough that the full grown sheep and goats can’t go through it, but large enough that full grown turkeys and geese (and bucklings) can go through it.
After some thought, the only thing that seemed feasible was to fence Sam and Pokey off by themselves. They will have to get accustomed to this anyway, since they will have to be fenced away from the does once they are older. But there were three requirements for this fence: it had to be sturdy enough to contain two active little bucklings, it had to be temporary since Andy wants to fall a few trees in that area, and it had to fit inside the budget. Since Andy was headed to the hardware store, I asked him to inquire if they had any pallets that they wanted to get rid of. They had an entire pickup load that they happily gave Andy because Spring always brings them an overabundance.
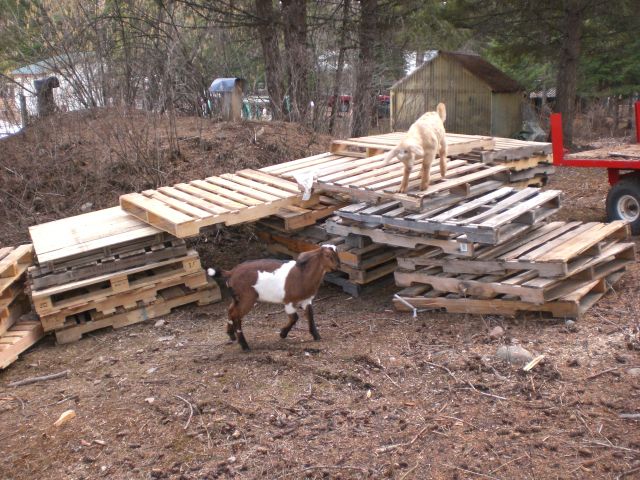 Sam and Pokey enjoyed the playground of pallets:)
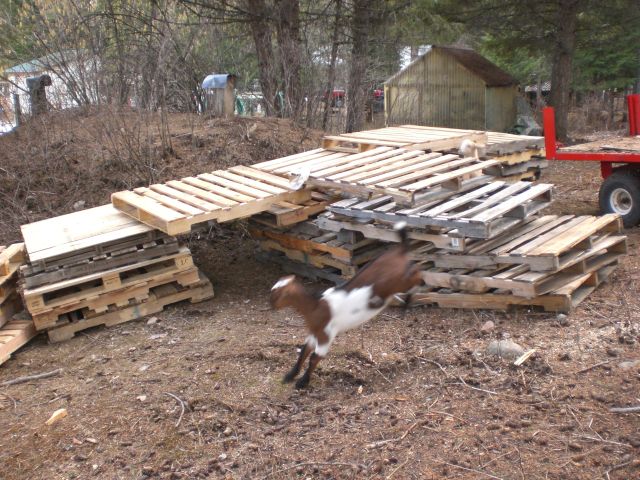 If they knew how much these pallets were going to curtail their shenanigans in the chicken coop, they probably wouldn’t have been so happy to ‘help.’
So I started attaching by one pallet to an established fence post. I used bailing twine to tie the pallets together so that they could easily be cut apart when it’s time to move the fence.
I arranged the pallets in a zigzag fashion to help add stability. Every other pallet, I put a fiberglass fence T-post that we normally use in the garden area. This way each pallet is attached to a post on one side. Part of the way up one side of the fence, I put in a ‘gate’, which involved putting a steel post on each side of one pallet. One side is tied to the post, the other side is left free to open. Make sure the gate opens to the inside. If it opens to the outside, the bucklings can push against it and squiggle through. For a ‘latch’ I simply put a screw in the top of the pallet, tied bailing twine to the inside board of the pallet and then loop the twine around the steel post and hook it over the screw.
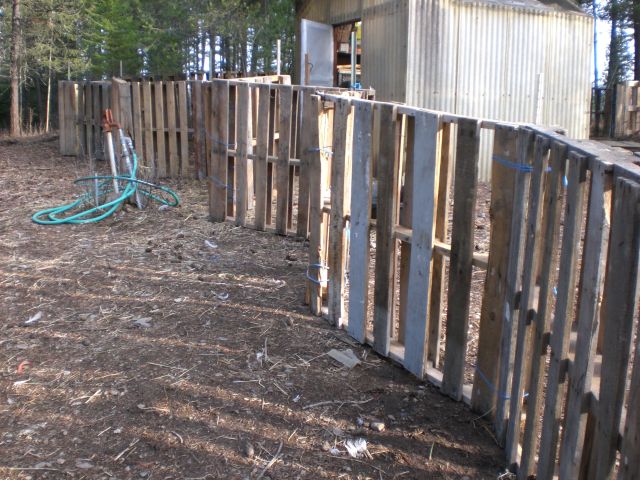 You can see the zigzag pattern with a fiberglass post every other pallet.
 Because this was built on a hill, the fence isn’t perfectly straight. I had to work with the lay of the land and situate the pallets where they stood more securely.
By the time Sam and Pokey are big enough to jump over this fence, they should be too big to fit through the hole to the chicken coop.
It’s easily taken apart with a pocket knife. I know, Jim, nothing is more permanent than something ‘temporary’ 🙂 🙂 🙂
It fit wonderfully in the budget (ahem, free works quite well for me!)
What do you think? If I painted them white, they could almost pass for a picket fence, no?
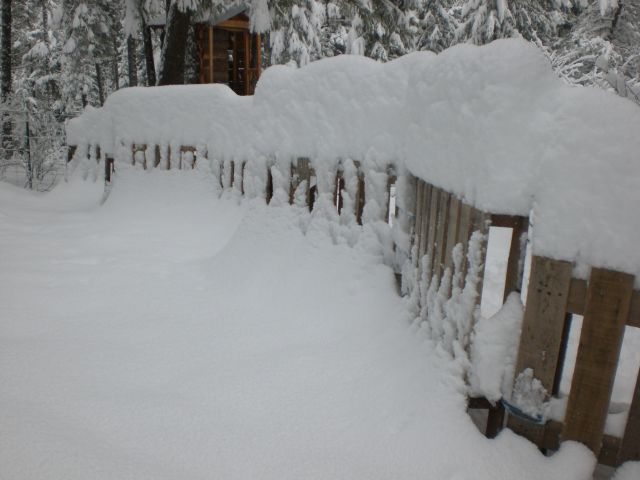 Update: the fence is holding up despite the two feet of snow we received overnight 🙂
Update: this fence has now stood up to two winters of snow like pictured above, and several goat kids, adult goats and sheep.
